USA
Note: To add an IP camera to MileStone XProtect, please make sure you already downloaded and installed “XProtect Management Client” and “Milestone XProtect Smart Client ” to your computer.
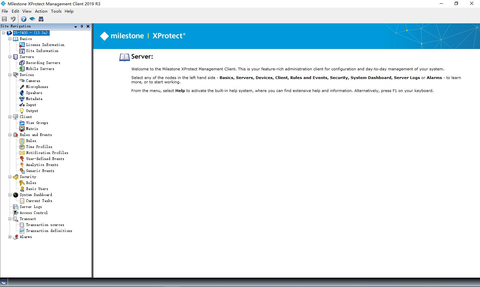
Step1
Open the “XProtect Management Client” to add camera
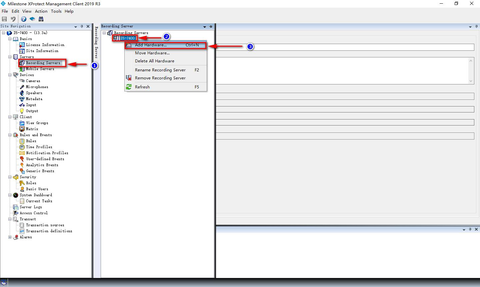
Step2
Go to Servers/Recording Servers/I5-7400(Default One) and click [Add Hardware] to add camera.
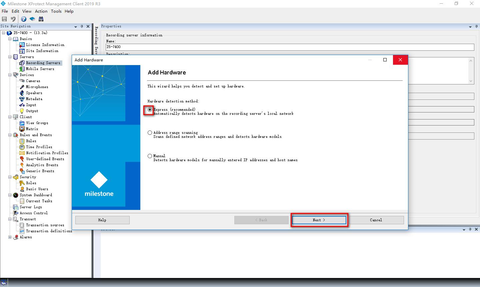
Step3
Select Express(recommended) and click [Next]
Step 4
On this page you need change the password of camera, the deault password is 12345. If you changed the password of the camera, please input the password of camera.

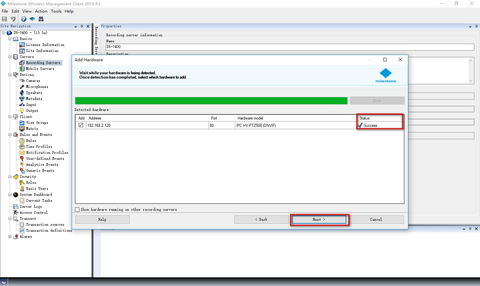
Step5
Once you input the correct password, the status of the camera is “Success”, click [Next]
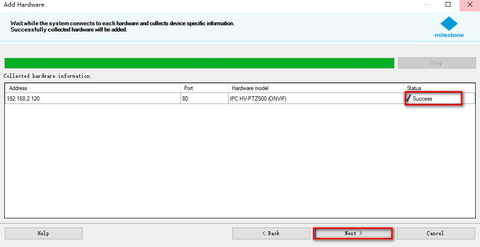
Step6
On this page, system will collect the camera’s information, the status supposed be “success” then click[Next]
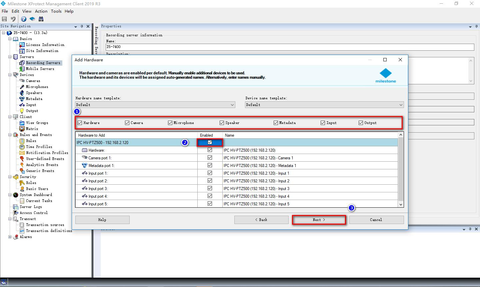
Step7
On this page, please enable the functions listed on the page, then click[Next] to complete other settings.
Step 8
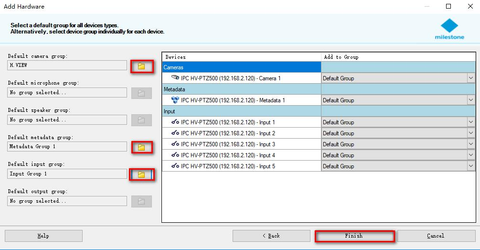
You need create some groups for camera, these groups will be automatically be added to “Milestone XProtect Smart Client”. Click [OK] to save settings.
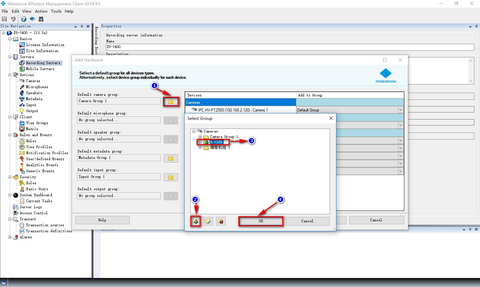
Step 9
“Default camera group” “Default metadata group” and “default input group” must be configured. Once you complete all of these 3 groups please click [Finish]
Step10
After you completing all steps from 1-9, you will see this page , and the status of camera is “No Video”. You can find this at the bottom of this page, this means the password of camera need be changed.
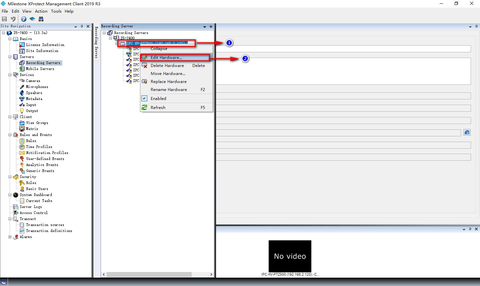
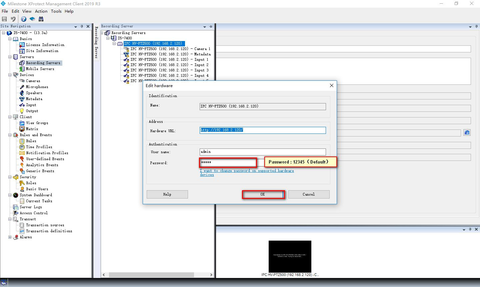
Select the camera you added---Right-Click the mouse---Click[Edit Hardware]---Will
Pop-up a window--Input the correct password of the camera(12345 is default password)
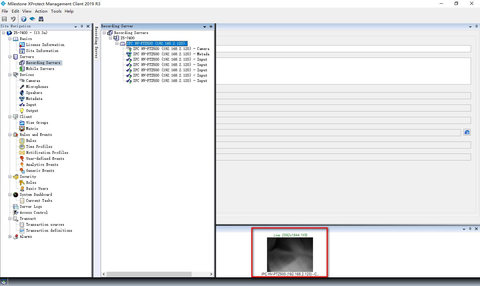
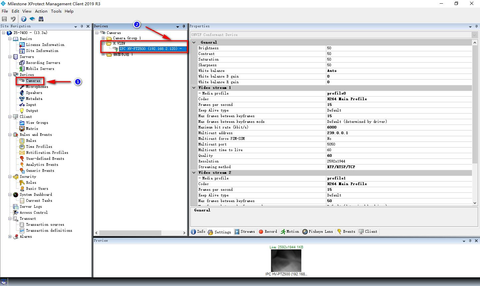
Step11
After doing Step10, you will see a snapshot of the camera picture, then it should be working properly. You can also find the information fo the camera you added.
Step 12
If you have PTZ Camera, please remember to enable the PTZ function by doing as: Camera/Select camera you added/Right Click the mouse/Click[Go to Hardware]On this page please enable the PTZ and save the settings
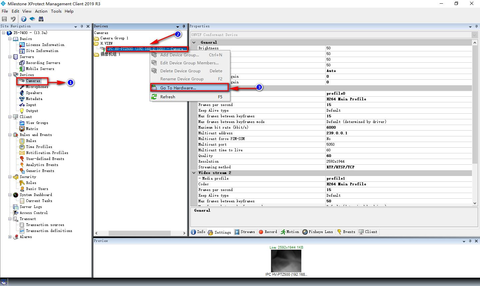
On this page please enable the PTZ and save the settings
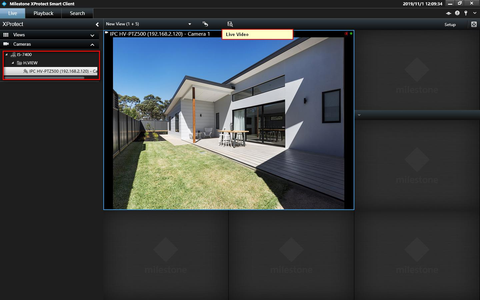
Step13
Open the “MileStone XProtect Smart Client” to live viewing camera.